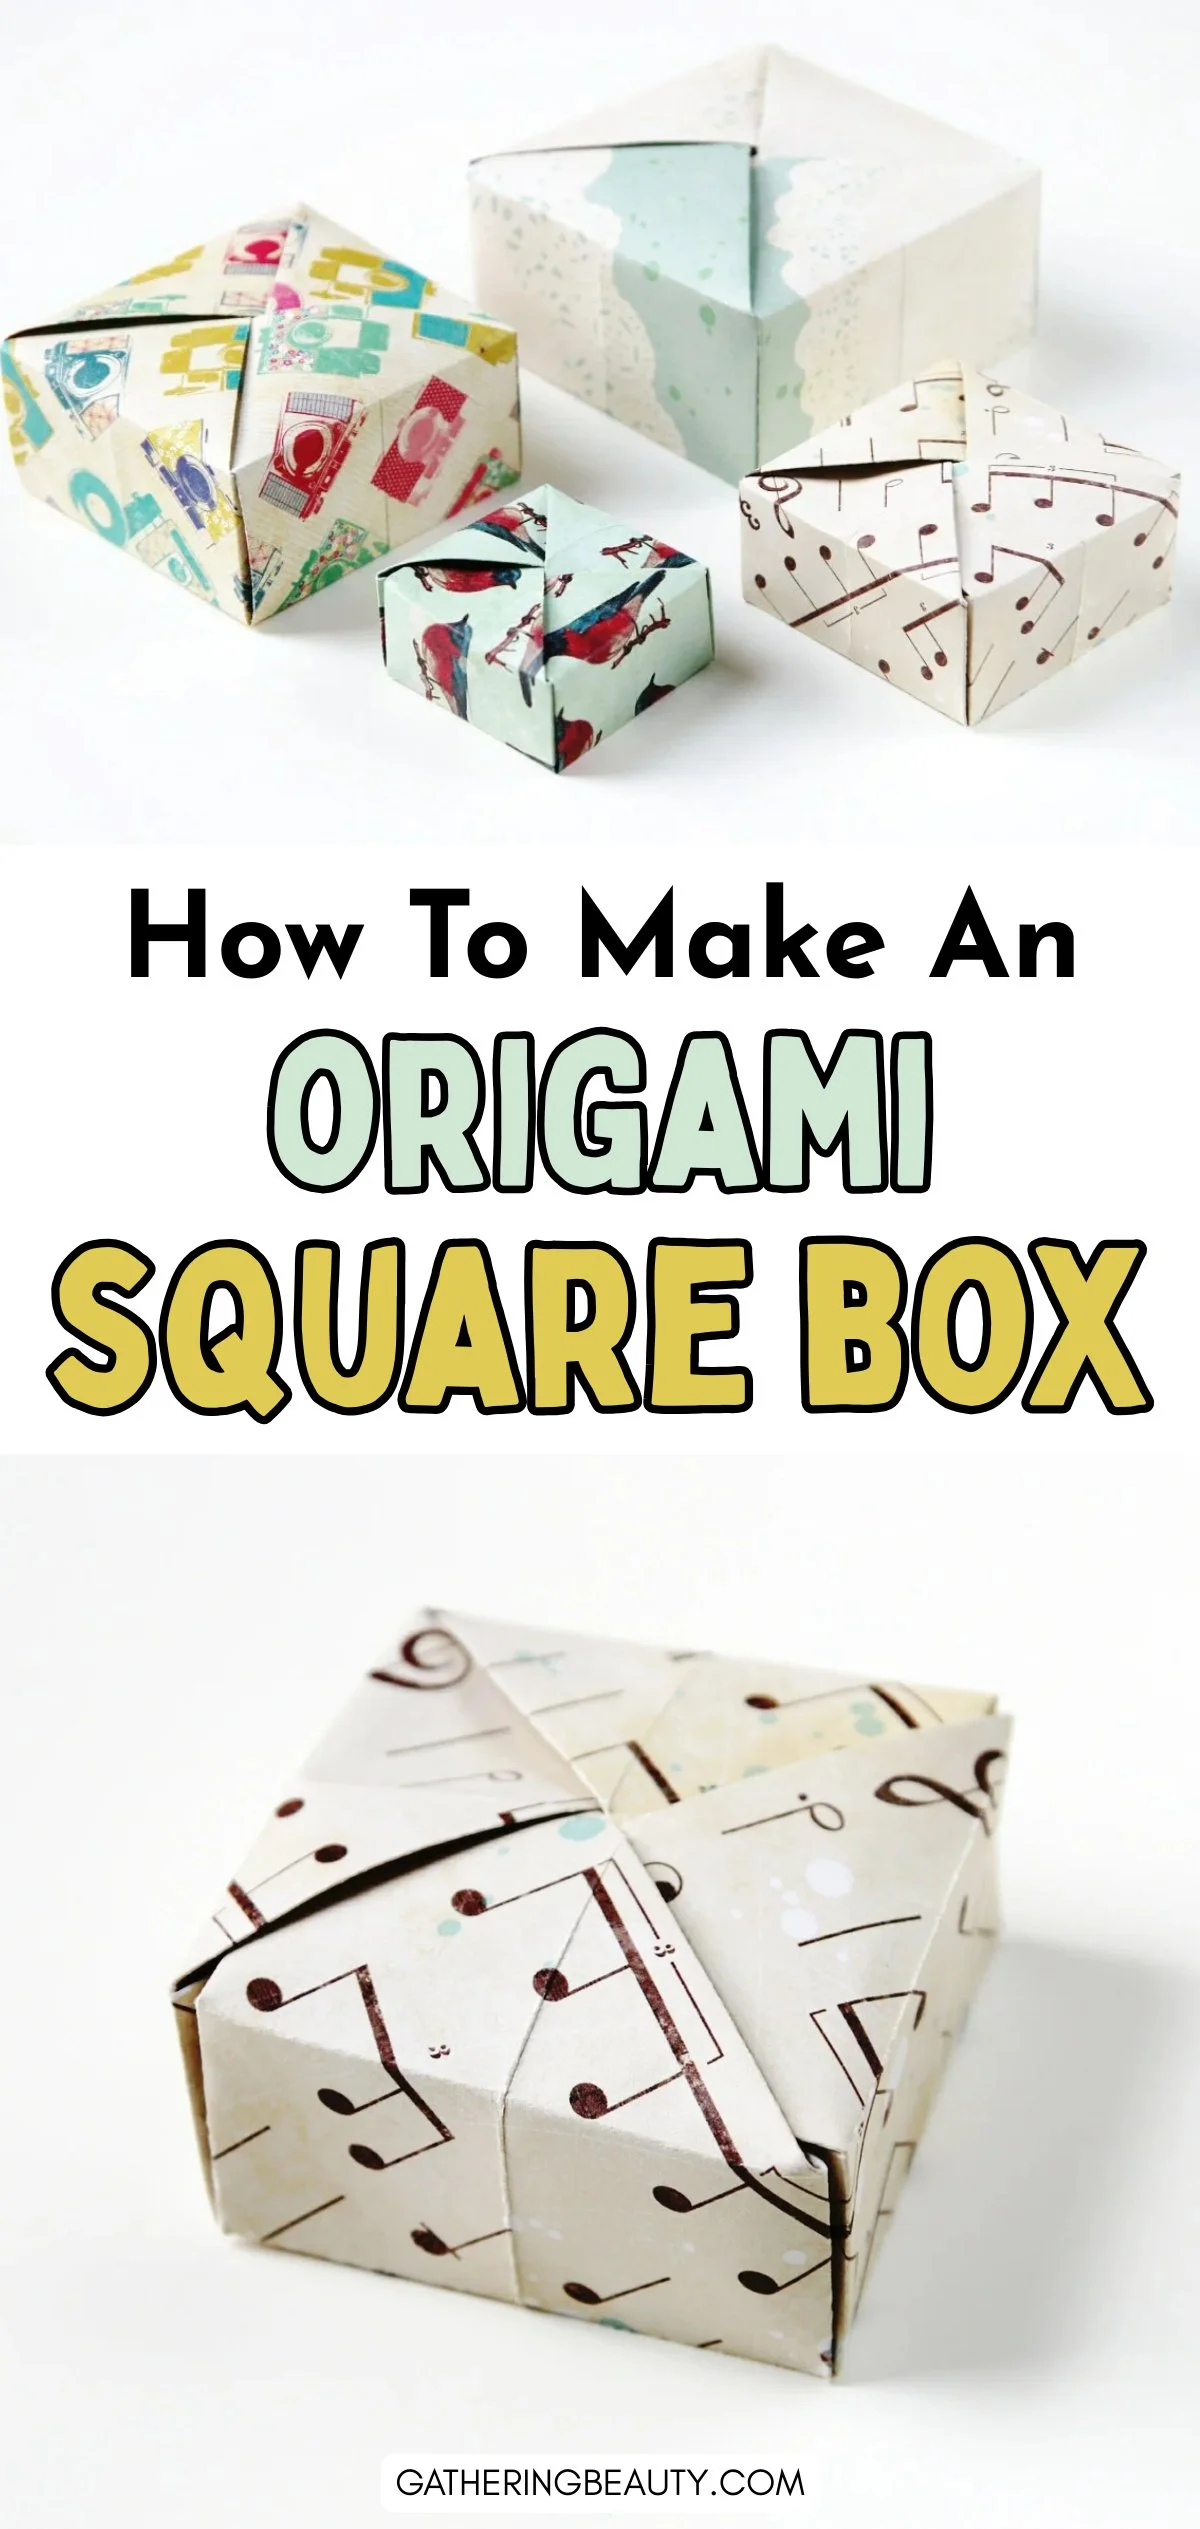
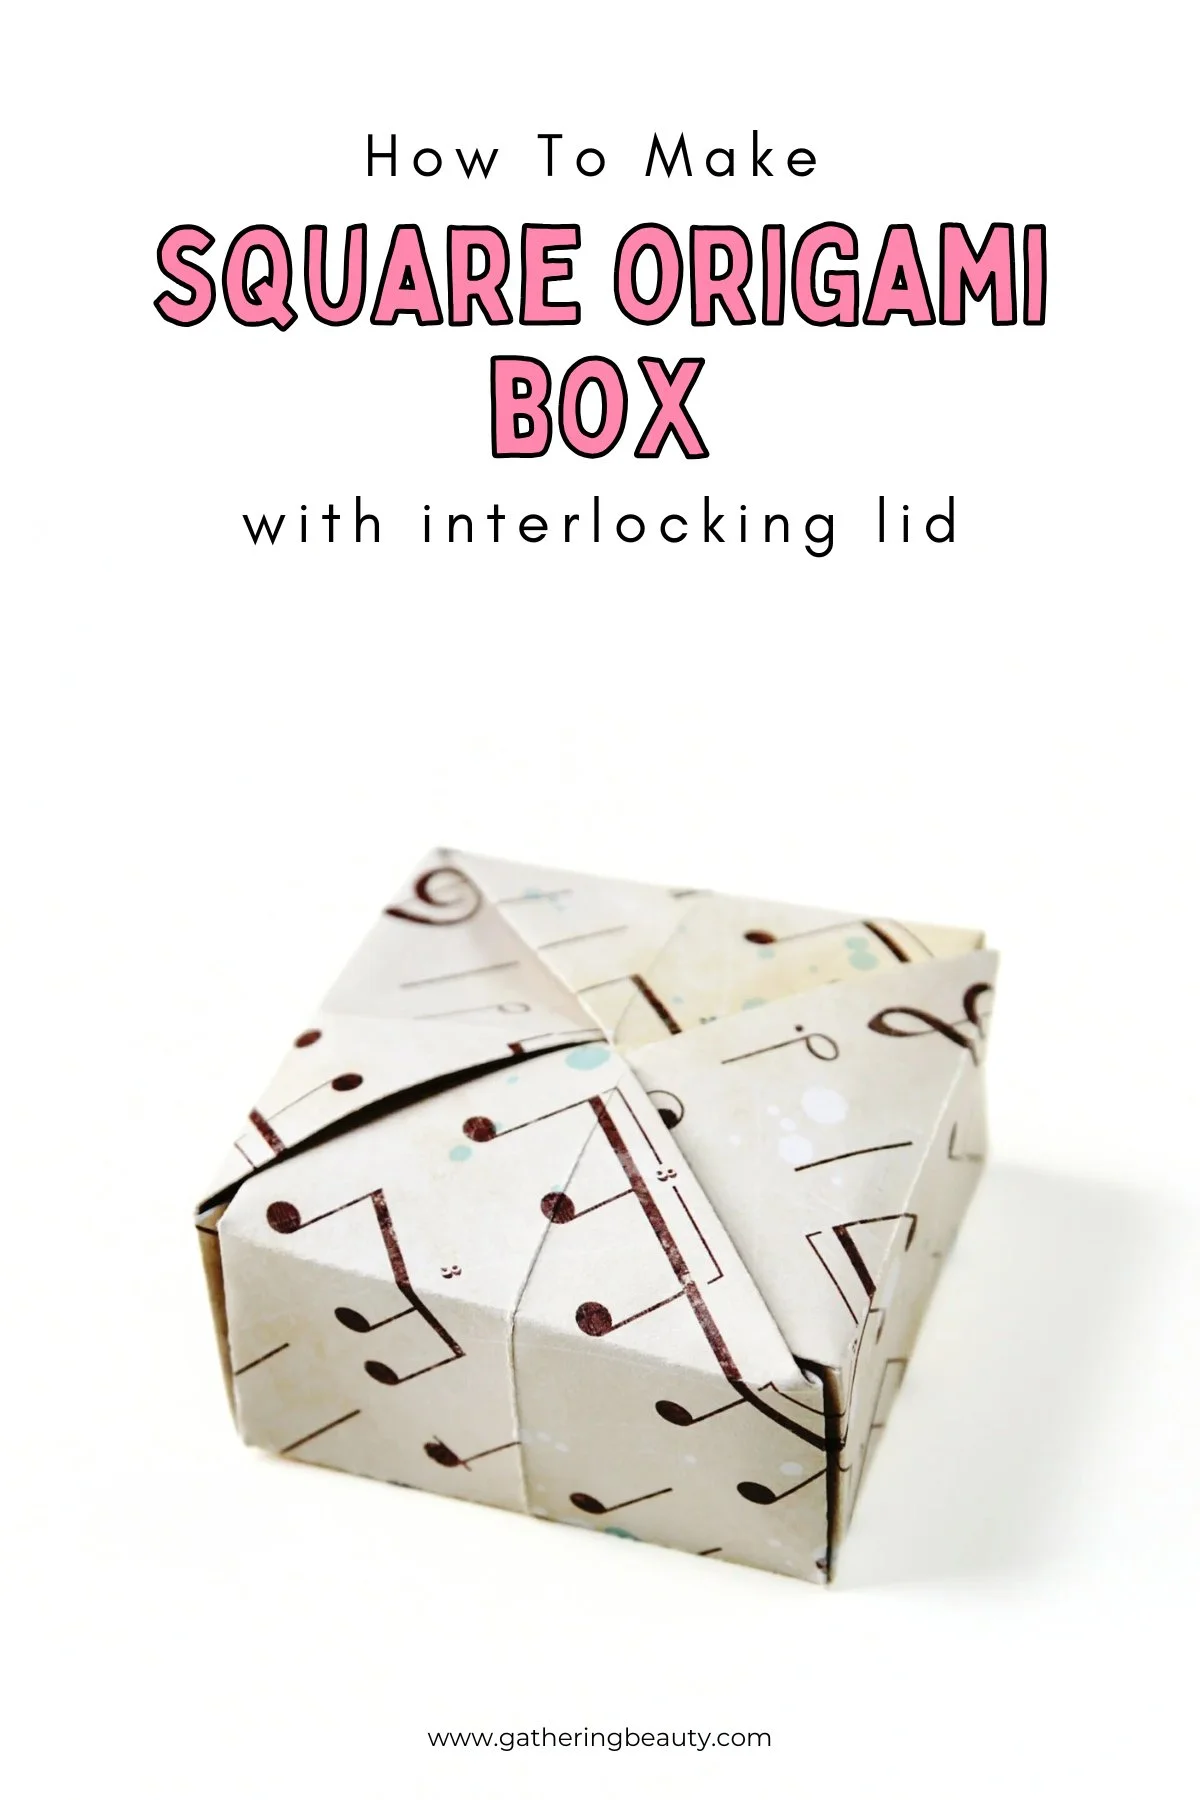
Origami Square Box
/Learn how to make a square origami box using a single sheet of paper in this beginner-friendly tutorial. Follow the step-by-step instructions and you’ll soon be folding gift boxes as unique as the treasures they hold.
Perfect for holding small gifts, storing beads, paperclips, accessories, sweets or other small treasures. Don’t let the interlocking lid fool you. This clever box is easier to fold than it looks.
This page contains affiliate links. This means that if you make a purchase after clicking a link I earn a small commission but it doesn’t cost you a penny extra!
This post was originally published in 2016 but has since been updated.
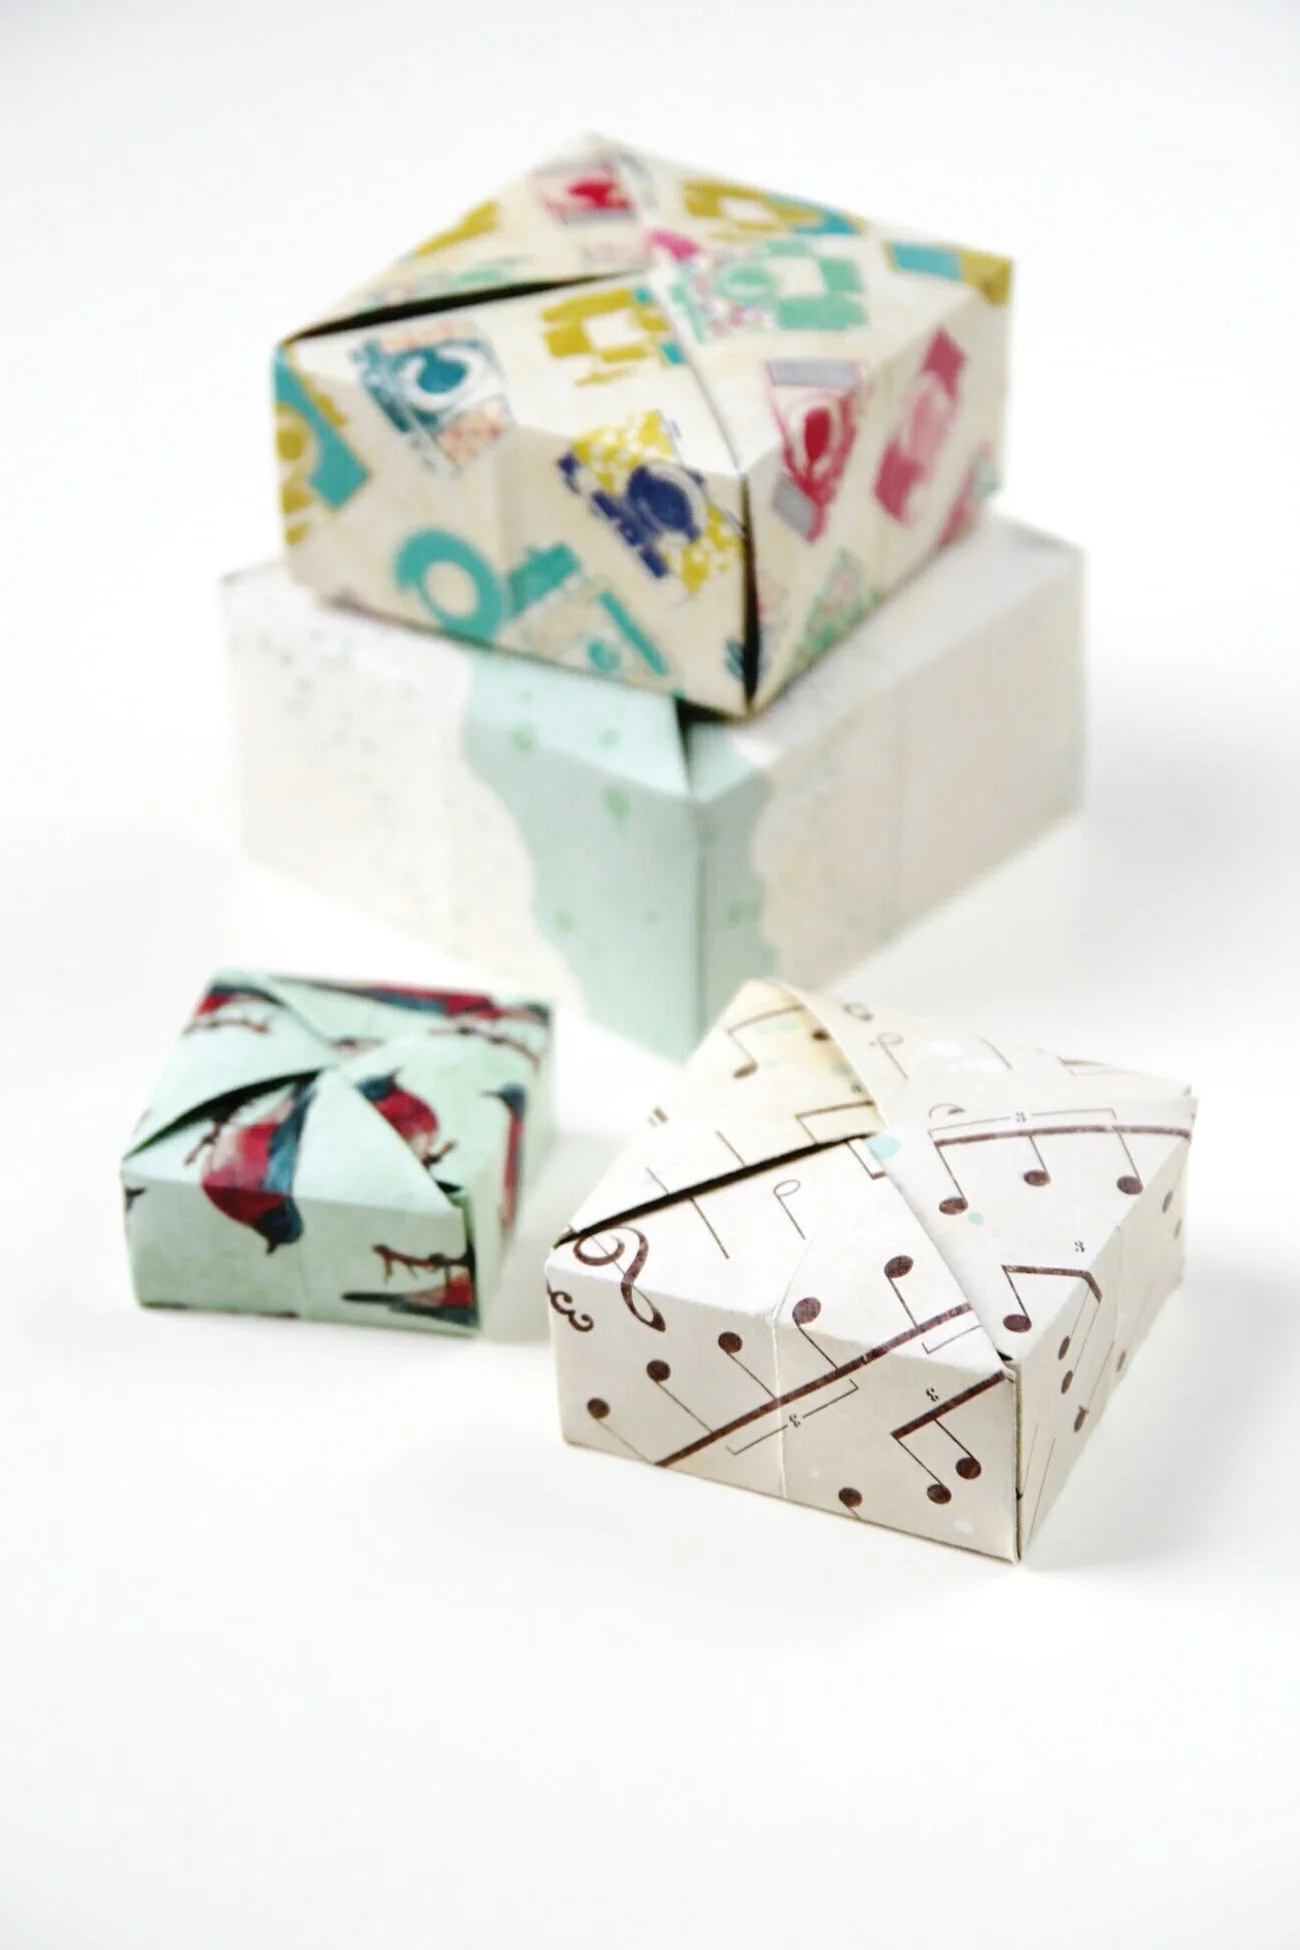
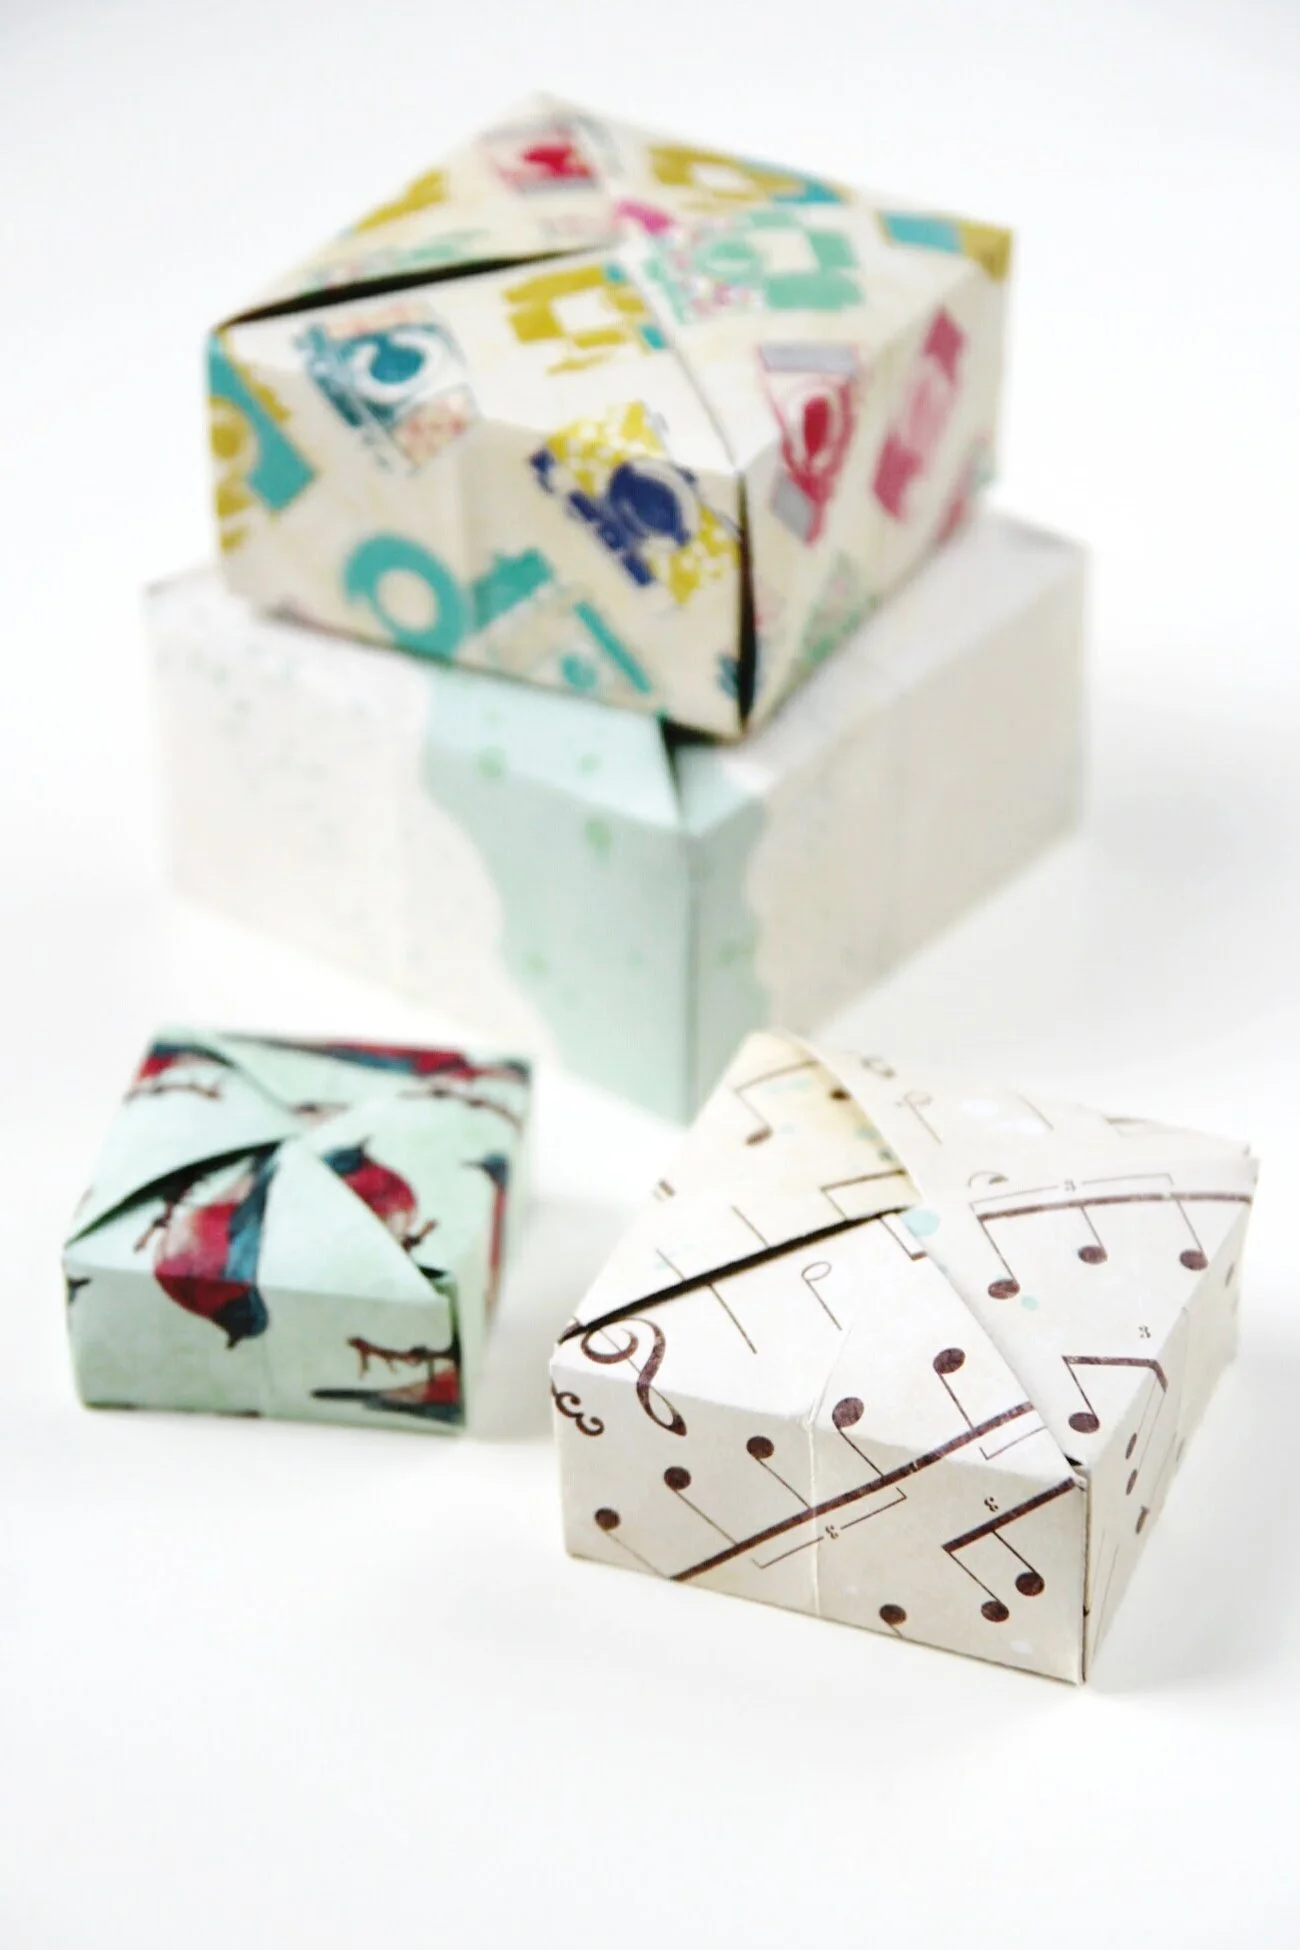
Square Origami Box.
One of my favourite things to do with paper is make gift boxes, even better if they’re origami gift boxes. I love that a few simple folds can make a cute little box that can be a gift in its own right.
Are you a beginner when it comes to origami? This square box is a brilliant introduction to the art of origami.
And the cool thing about this simple origami box? It’s made from a single sheet of paper and has an all-in-one interlocking lid.
It may look complicated but I think you’ll be pleasantly surprised at how easy it is to fold the lid closed.
DIY Small Gift Box.
Origami boxes can be used for so many different occasions. They make fantastic favour boxes for weddings and parties as well as small gift boxes for jewellery and posh chocolates or even storage boxes that are so pretty you’ll want to have them out on display.
Experiment with different thicknesses of paper (wallpaper, fabric paper, gift wrap, old maps) and textures (handmade paper, embossed cardstock, glitter cardstock). With the right paper, you can make a sturdy and useful box.
Supplies:
Scrapbook Paper (I used the Maggie Holmes Decorative Paper Pad that is sadly no longer in stock but you can find the rest of the Maggie Holmes range here. It’s all gorgeous.)
Paper Trimmer (for different size boxes)
Finished Box Measurements.
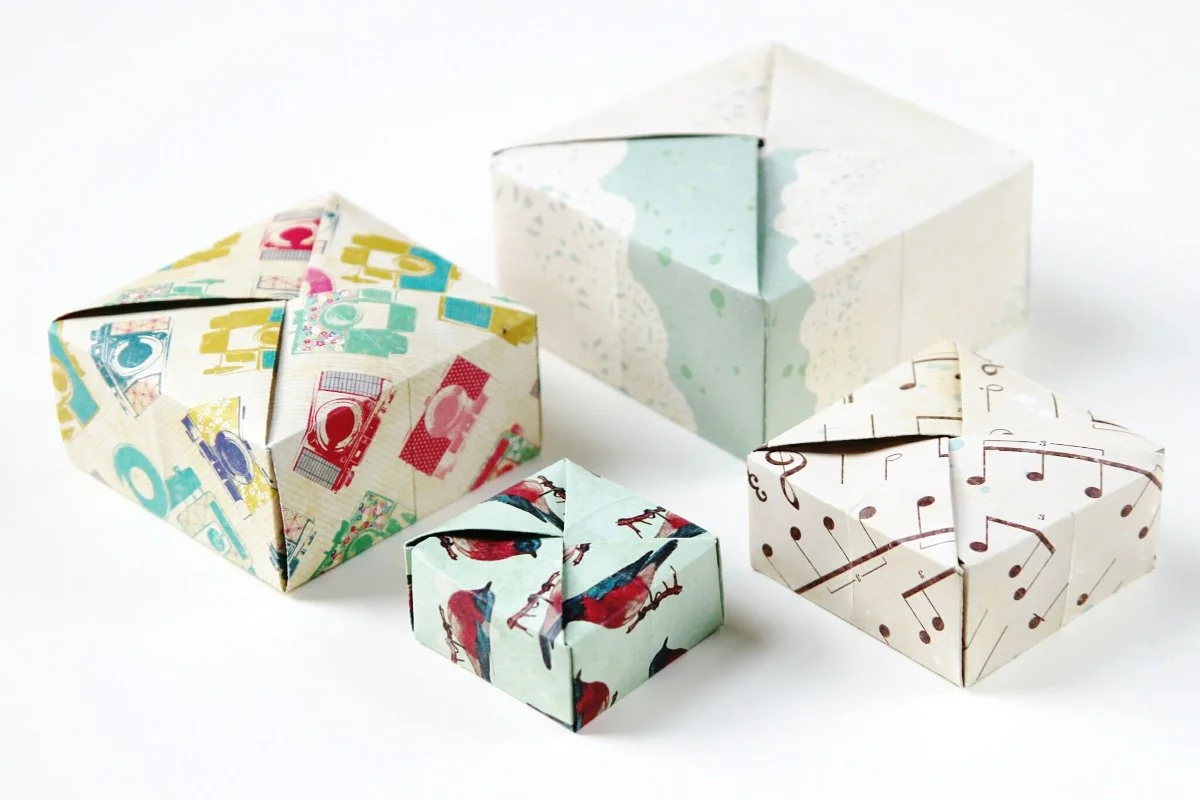
I made these boxes in a couple of sizes. The biggest box used a 12x12 inch piece of scrapbook paper and ended up measuring 4½ inches square and 2 inches tall.
A 10x10 inch piece of paper made a box measuring 3½ inches square and 1¾ tall.
The box below in the step by step photos was made using an 8x8 inch piece of paper and measured 3 inches square and 1½ inches tall when finished.
The smallest box was made using a 6x6 piece of paper and was 1 inch tall.
Want to download and keep these instructions?
** You can purchase this tutorial as part of the Easy Origami eBook here **

How to make an Origami Square Box.
1. Place your paper pattern side down.
2. Fold and unfold along both diagonals.

3. Fold each of the corners into the centre and then unfold again.
4. Fold the top corner down again.

5. Fold the bottom corner up to meet the top of your paper to make a large triangle.
6. Next you need to crease along where the pink dotted line is (shown above).

7. Fold the paper to meet the edge of the triangle you just made and crease.
You should be able to see a crease from a previous fold, I've marked it in the picture above using a bone folder.
Fold as far as this crease, no further and unfold your paper
8. Rotate 90 degrees and repeat for each corner.
9. Unfold and place your paper pattern side up. Fold in half to make a rectangle, open it out and rotate 180 degrees. Fold in half again.
This should make a cross in the centre of your paper.

10. Place your paper pattern side down again.
As you lift the corners the sides should fold in easily to make a plus or cross shape.
11. Remember those folds you made in steps 6-8? You need to refold along these creases and press them flat to make 4 points. These 4 points will make the lid.

12. To close the lid of your box you need to fold down the flaps on top of each other in a clockwise direction.
13. Fold the top flap down first. Then fold the next flap on the right down on top of the previous flap.

14. Fold the bottom flap up on top of the previous flap.
14. Tuck in the last flap in from the left to complete the lid.

And there you have it. What do you think? What would you use this box for?