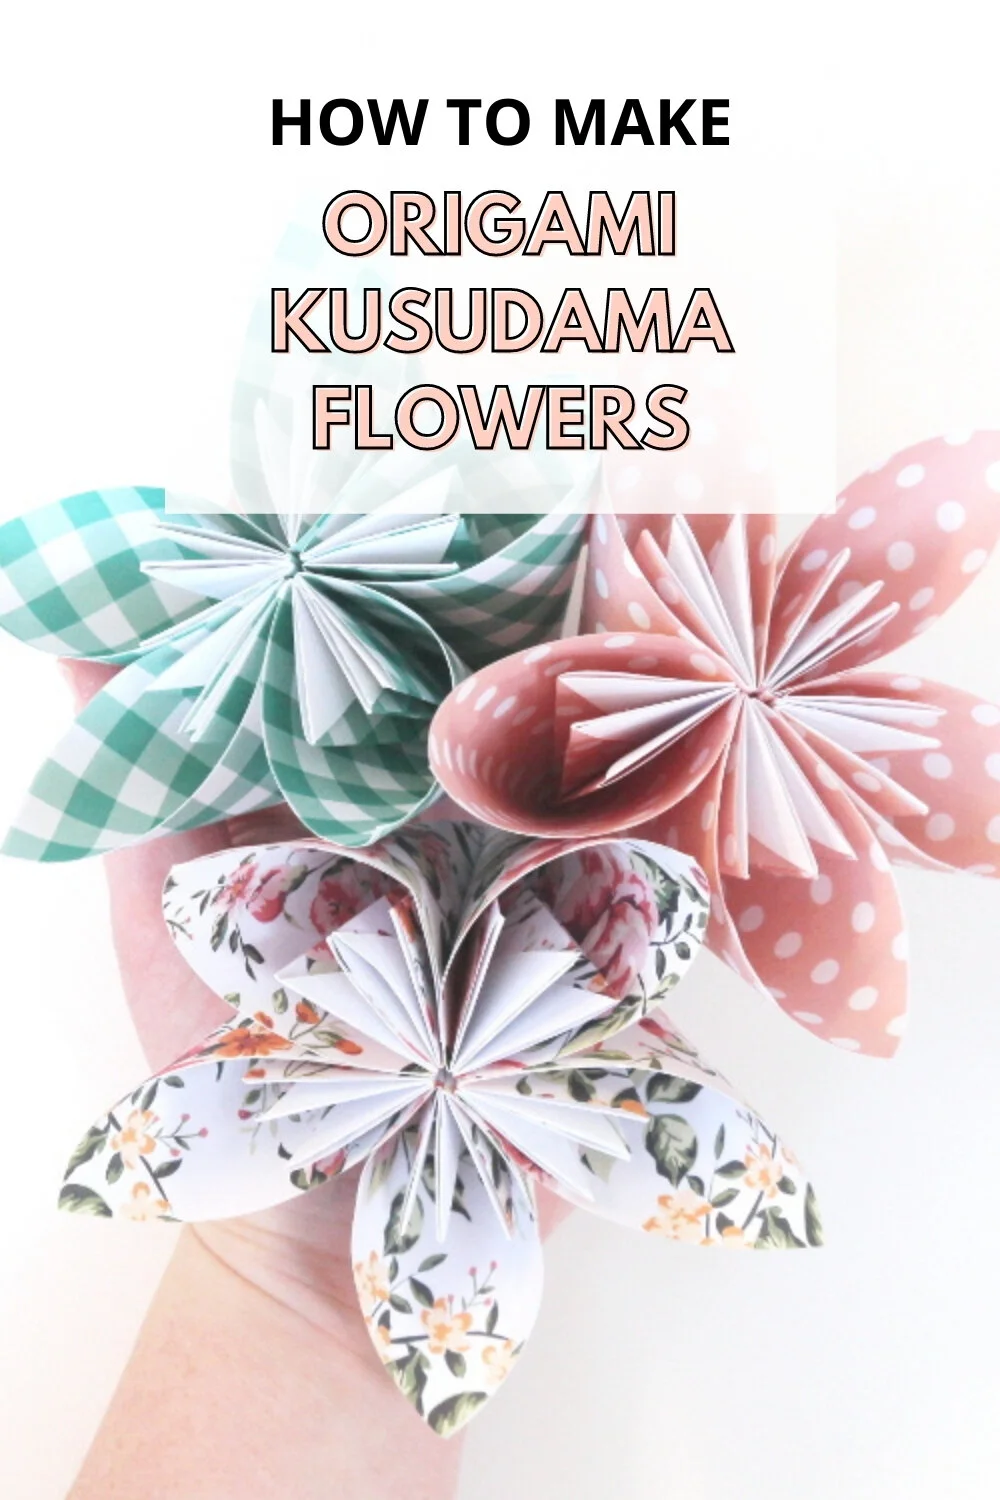
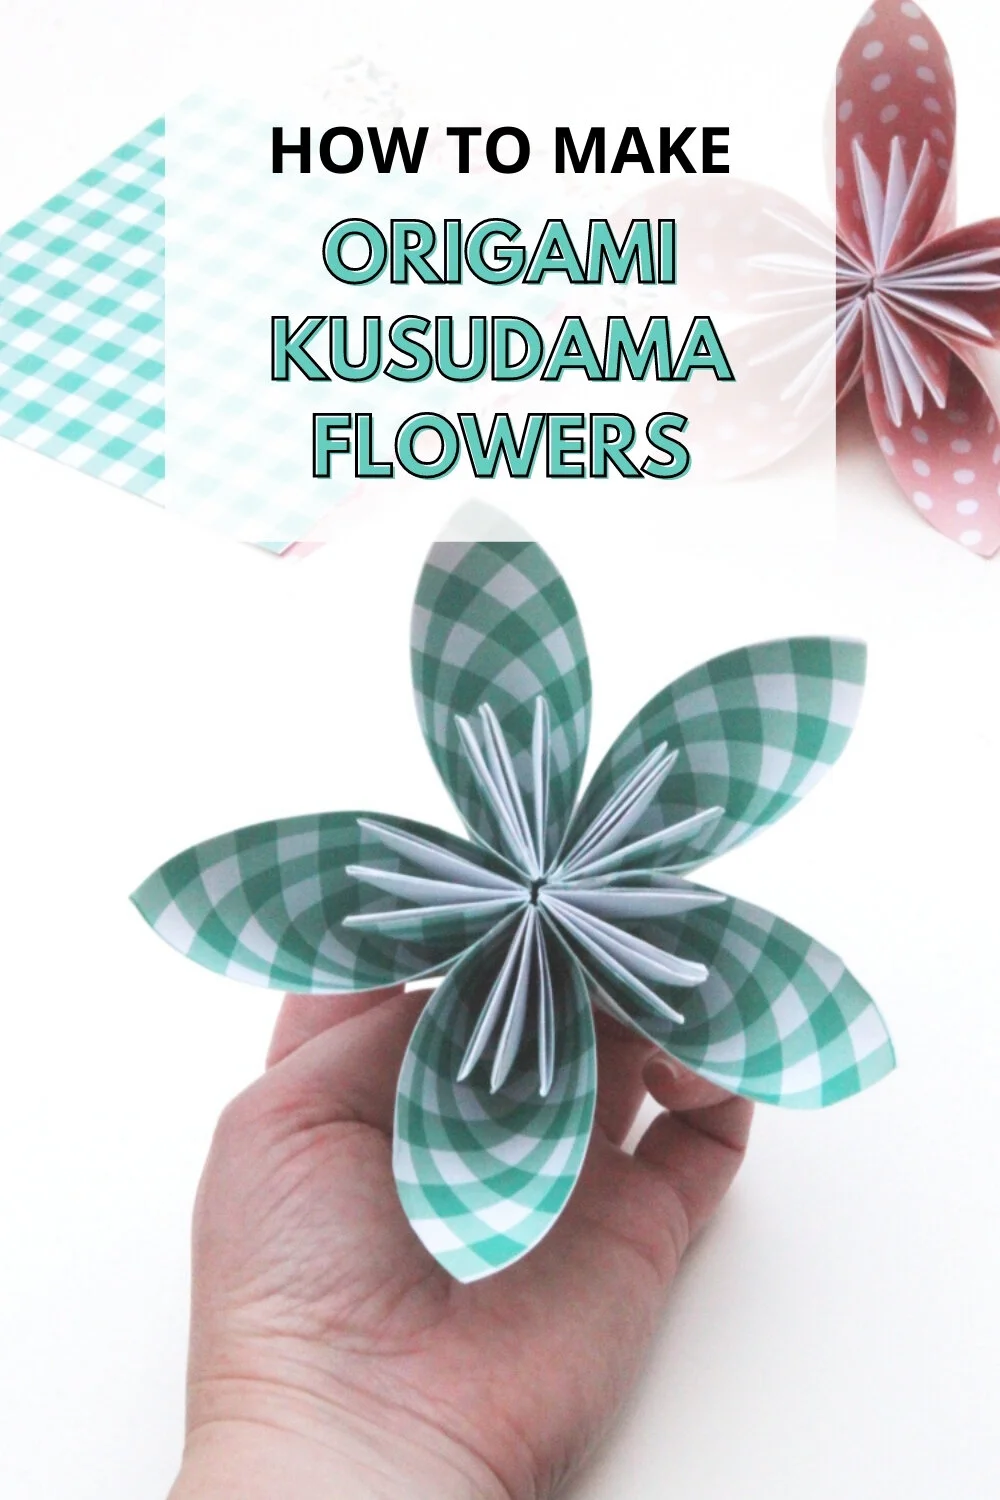
How To Make Origami Kusudama Flowers
/Make your own easy origami flowers using this easy step-by-step tutorial. These pretty paper flowers may appear complicated but they're surprisingly simple to make.
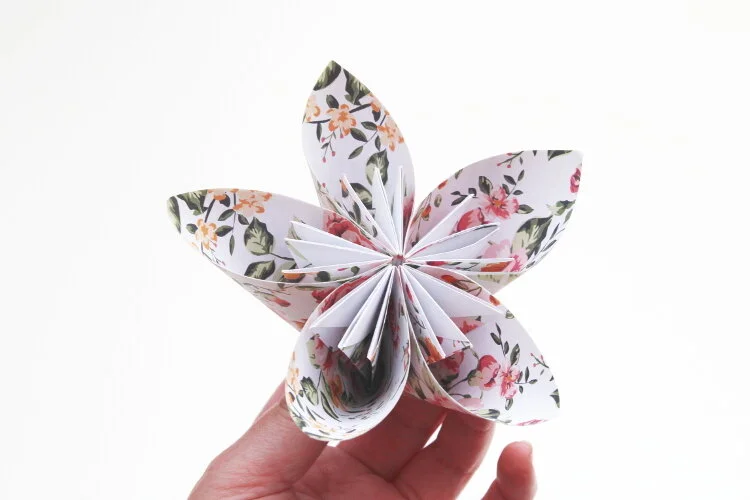
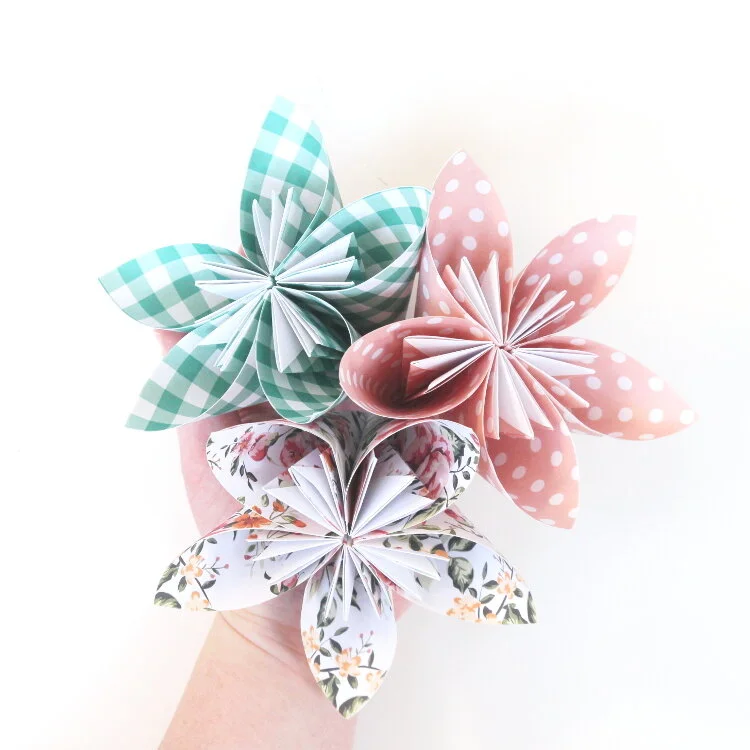
They sit perfectly in a vase when popped on a piece of floral stem wire and can be glued together to make a wreath, paper bouquet or the classic Kusudama ball. The perfect origami craft for both beginners and kids like these origami tulips with paper straw stems!
This page contains affiliate links. This means that if you make a purchase after clicking a link I earn a small commission but it doesn’t cost you a penny extra!
Origami Flower Kusudama.
Today I’m going to show you how to make Origami Kusudama Flowers. I know it might be hard to believe but this beautiful origami flower is actually super simple to make and is the perfect starter project for a beginner.
Origami flowers make a great gift. You can give them as stand-alone decorations for birthdays or Valentine's Day.
They're a great activity to make with younger kids and would be a lovely Mother's day present. Who wouldn't love a beautiful bouquet made from handmade paper flowers?
Related: 20+ Easy Origami Flowers To Make
What is an Origami Kusudama?
Traditionally Japanese Kusudama Balls were used as incense or potpourri but now are used as decorations or gifts. The word ‘kusudama’ actually means ‘medicine ball’ and comes from the shape the flowers make when you glue twelve of the flowers together.
I think they’re lovely just as they are but there are so many different ways you could use these beautiful flowers. Glue them to some wooden skewers and display them in a vase or turn them into a pretty bouquet. Stick twelve of them together to make a kusudama ball. Thread a single flower on some ribbon and hang it on a tree as a Christmas or Easter decoration. Or use them to decorate a wreath.
Easy Origami Flowers.
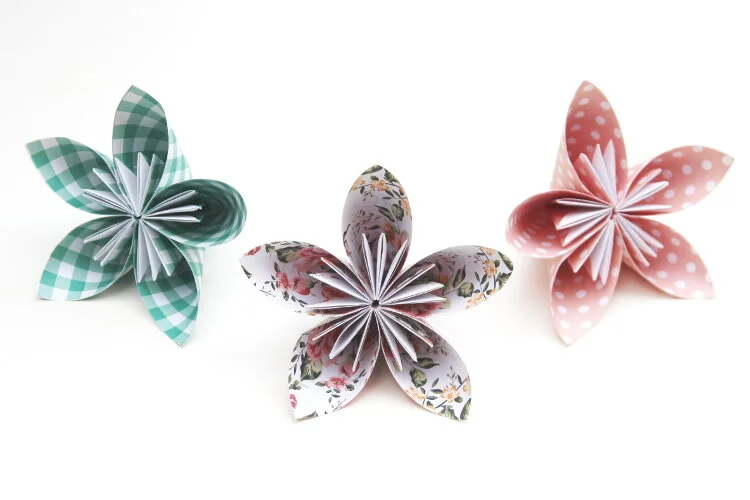
This project is a bit different from the usual origami projects I share as it uses not one but five different pieces of paper. Each flower is made up of five simple units (petals) glued together. Each petal is made by folding one square of paper. So although the finished flower may look intricate they're actually much easier to make than they look.
I’ve made a couple of different origami flowers before (you can find my origami tulip here and my origami lotus here) but I think these are my favourite. You’re going to love how quick and easy they are compared to how complex the finished flower looks.
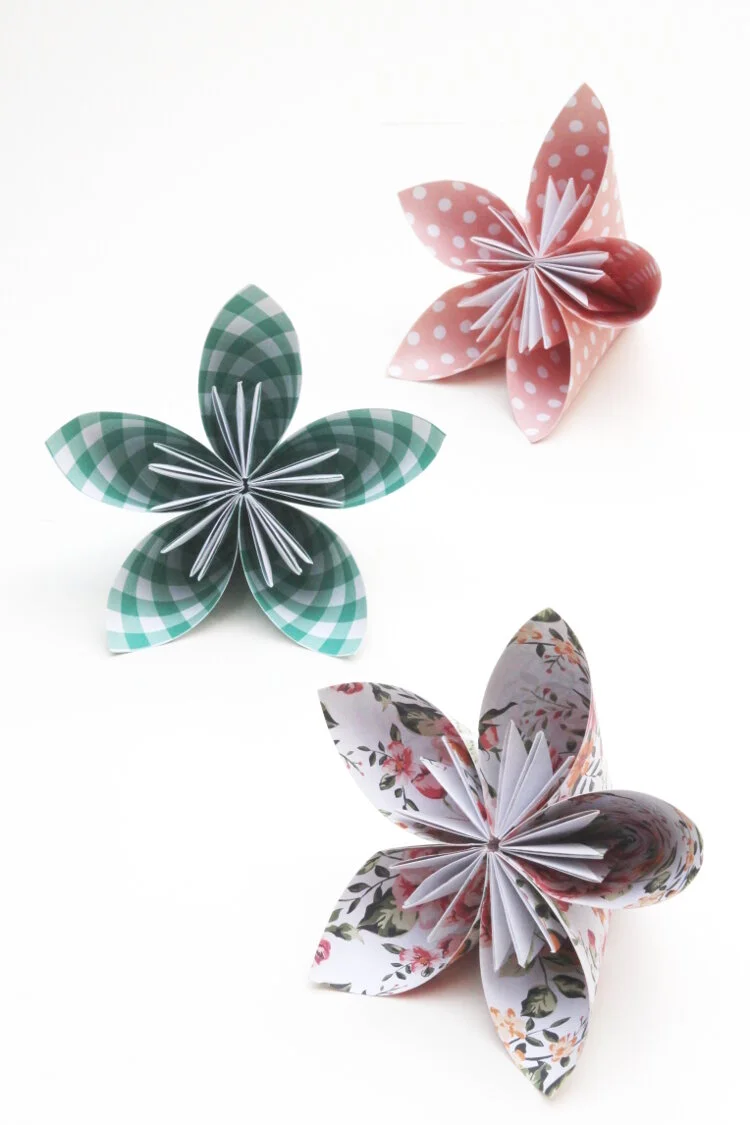
The larger the paper, the larger the flower. I used some pretty floral paper and patterned paper for my flowers but you could use any paper from your stash as long as it’s thin enough to fold.
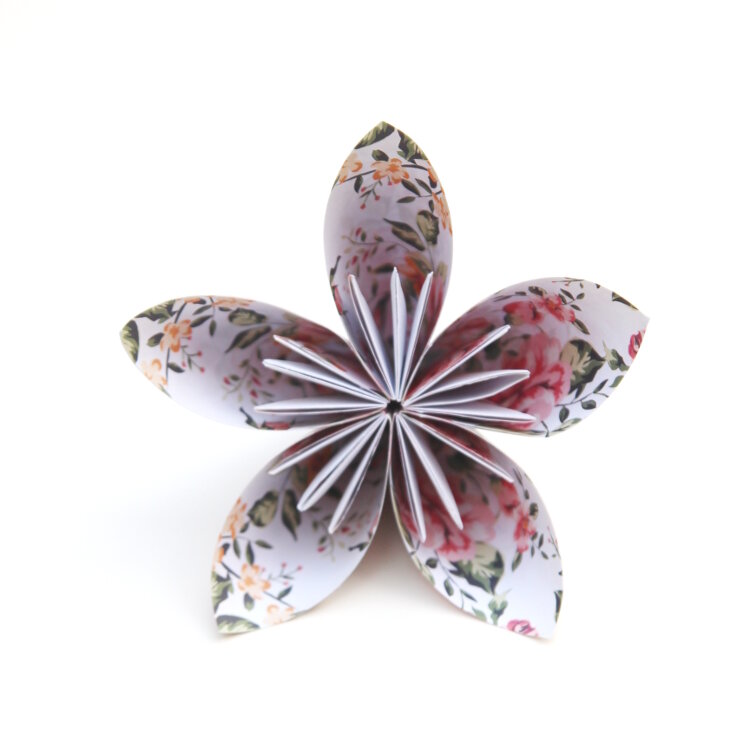
The finished flowers in this tutorial measured five inches across and were made using five 6-inch pieces of origami paper.
You can find the step-by-step photos below or follow the video instructions for more tips and tricks.
Supplies:
Glue - either Elmer’s School Glue or a Glue Stick
A Paintbrush (if you’re using runny glue)
Although I recommend using origami paper for any paper folding project, here are a few alternatives that you probably already have on hand.
Regular Printer Paper,
Magazines,
Maps,
Old Books,
And Newspapers.
I even have some printable origami paper you can download and use for FREE. Simply download, print and cut into 7x7-inch squares. Click the image below to get yours.

Are you ready to make your own origami flowers? Let’s start folding!

How To Make Origami Kusudama Flowers:
1. To start you'll need to choose your paper. You’ll need five square pieces for each flower. Every single sheet of paper makes one petal.
I used 6x6-inch pieces of origami paper that make a large finished flower measuring 5 inches across. You can experiment with different size papers to see what size flower you like.
2. Take your sheet of square paper and fold it in half along the diagonal to make a triangle shape. You want the coloured side facing out.

3. Fold both the bottom corners up to meet in the middle and make a diamond shape.

4. Fold both the points back so they line up with outside edge. This will make two pockets.
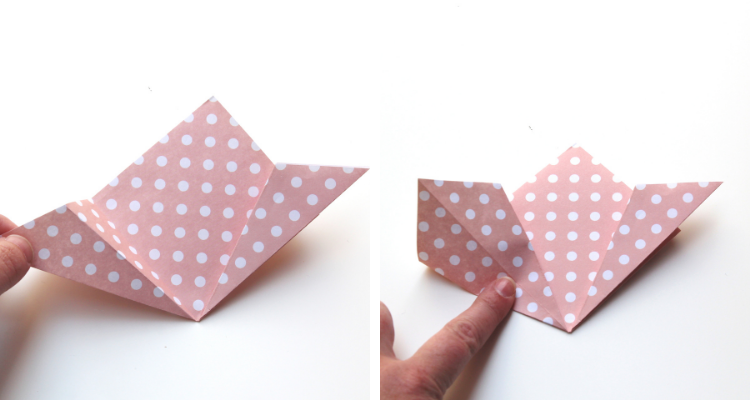
5. Pop open the pocket using a finger.
6. Flatten along the seam to make a kite shape and squash down.

7. Do the same on the other side.
8. Fold the top of each kite down to make two triangles. You want the top of the triangles to line up with the edge.

9. Take both sides and fold them in half towards the centre.

10. Apply glue to one of the flaps.
I find a glue stick works best here but if you’re using runny PVA glue like Elmer’s School Glue make sure to apply as thin a layer as possible using a paintbrush. Too much glue can make the paper buckle and give you a messy end result.
11. Bring the two sides together so that both the flaps meet.
12. Press together. You may need to hold in place for a minute while the glue sets.

13. You’ve now made one petal. You can use your fingers to gently neaten up the inner pieces.
14. Repeat the steps above until you have five petals.
15. Take a petal and glue along the join.
If you’re using Elmer’s School Glue I find it works best to apply the glue to the edge using a paintbrush. If you’re using a glue stick like I did try to keep as near to the edge as possible

16. Join together to a second petal. Hold until the glue sets.
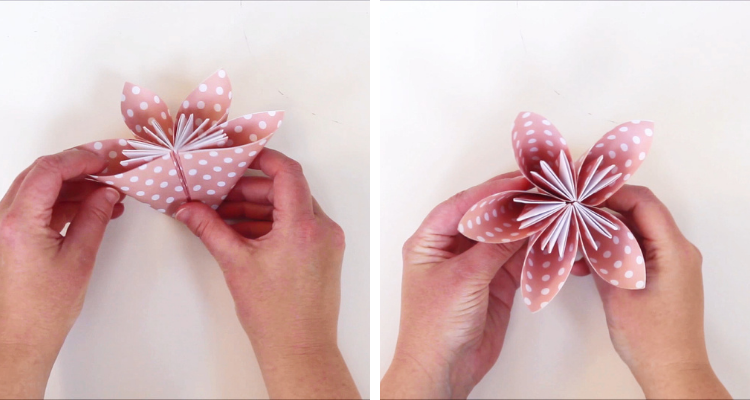
17. Keep adding petals until you've joined five together. You may find it easier to make a 2-petal piece and a 3-petal piece separately and then glue the 2 pieces together.
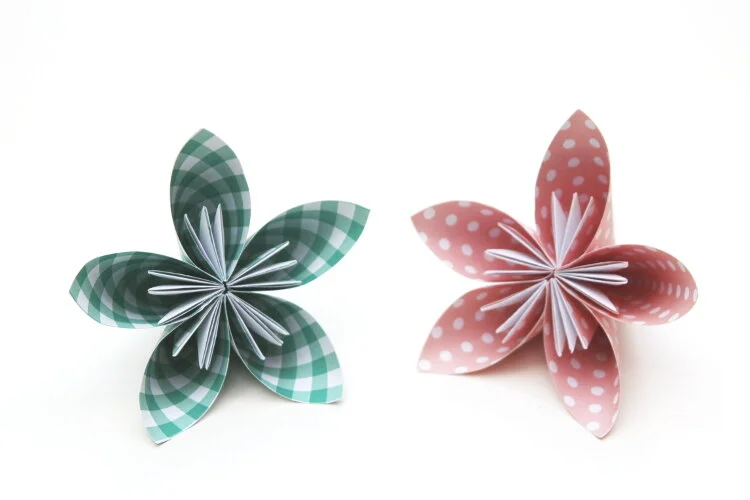
18. Set aside to dry.
You can use your finished origami paper flower as a place setting or as pretty paper decorations. Attach some floral wire stems to the bottom of each flower for a paper flower bouquet or glue 12 together to make beautiful kusudama ball party decor.
Need a bit more help? Keep scrolling for the full video tutorial.